
November 7, 2025
Pool Construction Secrets: Features Builders Forget to Mention (But You Need to Know)
Six pool construction details many builders skip explaining — vanishing edges, banding, floating steps, step height, spa edges, and jet placement.
By Mark Christiansen · November 7, 2025 · Pool Features
Thinking about building a pool? You’re likely focused on the fun stuff: the overall shape, the tile, and the equipment. But there are crucial design and construction details that many builders forget to mention until it’s too late. Understanding these hidden features is key to getting a pool that is truly beautiful, functional, and safe — and knowing these terms will help you ask the right questions and confirm your builder is a true expert. Here are six features worth discussing before breaking ground.
1. The “Fake” or Vanishing Perimeter Edge
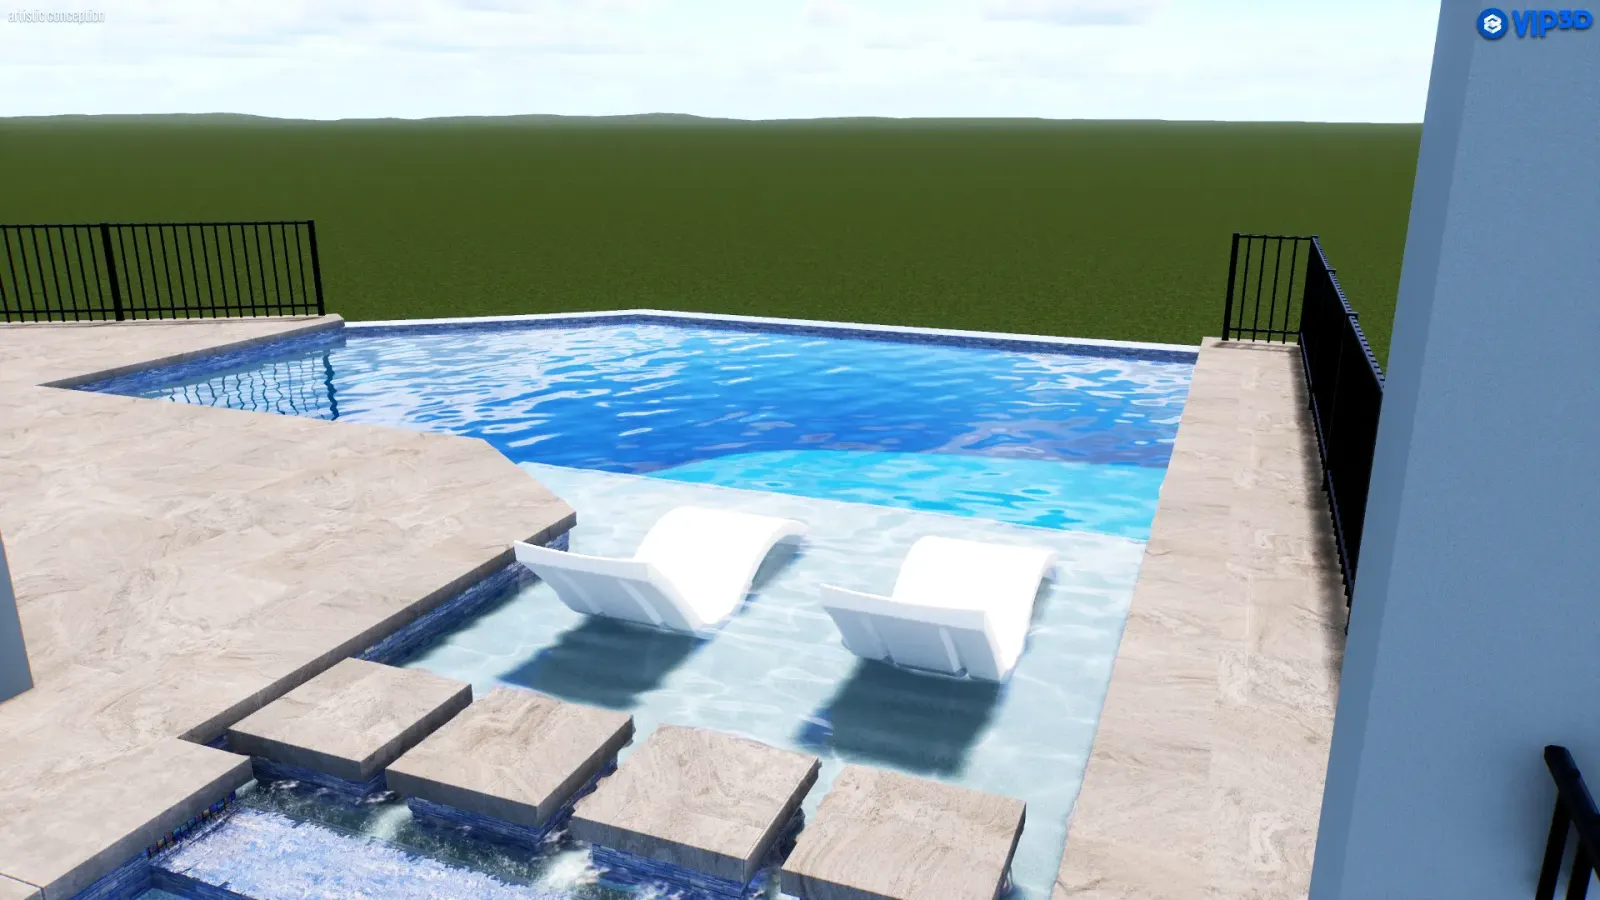
You love the look of a sleek infinity edge — water seamlessly flowing over the edge, creating a visual connection to the landscape. Many builders offer a variation of this feature, sometimes called a vanishing perimeter edge or raised bond beam.
What it is: this design creates the illusion of an infinity edge by raising the bond beam (the top structural wall of the pool) slightly above the water level on the non-infinity sides. It looks great, but it’s not a true infinity edge that requires a full catch basin.
Why it matters: it provides a modern, clean look at a much lower cost than a true infinity edge.
Ask your builder: “Are you proposing a true infinity edge with a separate basin, or a raised vanishing perimeter edge? What is the height of the raised beam?”
2. The Power of Visual Safety: Banding
The term banding (or perimeter banding) refers to the use of a contrasting material or tile along the edges of submerged features like benches, shallow areas, and steps, where the riser meets the tread.
What it is: a line of tile or a darker finish material applied to the horizontal surface (tread) or vertical surface (riser) that borders the feature.
Why it matters: in a finished pool, water distortion can make features like underwater benches and steps nearly invisible. Banding provides a crucial visual contrast that significantly enhances safety for swimmers getting in and out of the water — a small detail with a real impact on peace of mind.
Ask your builder: “What is your standard practice for banding the perimeter of all submerged benches and steps to ensure visibility and safety?”
3. Floating Steps (The Modern Pool Look)
Floating pool steps — steps that appear cantilevered or detached from the pool wall — are a signature element of high-end, minimalist modern pool designs.
What it is: the steps are structurally engineered to be supported from the pool wall or floor, but designed to give the visual impression of “floating” above the plaster or tile.
Why it matters: this feature is purely aesthetic, providing a dramatic, sculptural element. Because of the complexity of their structure and finishing, floating steps often require greater precision and skill than standard steps.
Ask your builder: “How will the structural support for the floating steps be handled, and what material will be used to achieve the clean, seamless ‘floating’ look?”
4. Step Riser Height: Comfort vs. Code
When you step out of a pool, you lift your leg against the resistance of the water, which is why pool step riser heights are often much higher than standard indoor stairs (typically around 7 inches).
What is the range? pool step risers often range from 8 to 12 inches. While 12 inches is high on land, the buoyancy and resistance of the water make these higher risers feel manageable.
Why it matters: too many risers take up valuable swim space. By increasing riser height within comfortable limits, a builder can often achieve the necessary depth over fewer steps, for a cleaner design — but steps must be uniform in height for safety.
Ask your builder: “What is the specific riser height for my steps, and will all steps maintain a uniform height for safety and comfort?”
5. The Spa Roll-Out / Rolled Spa Edge
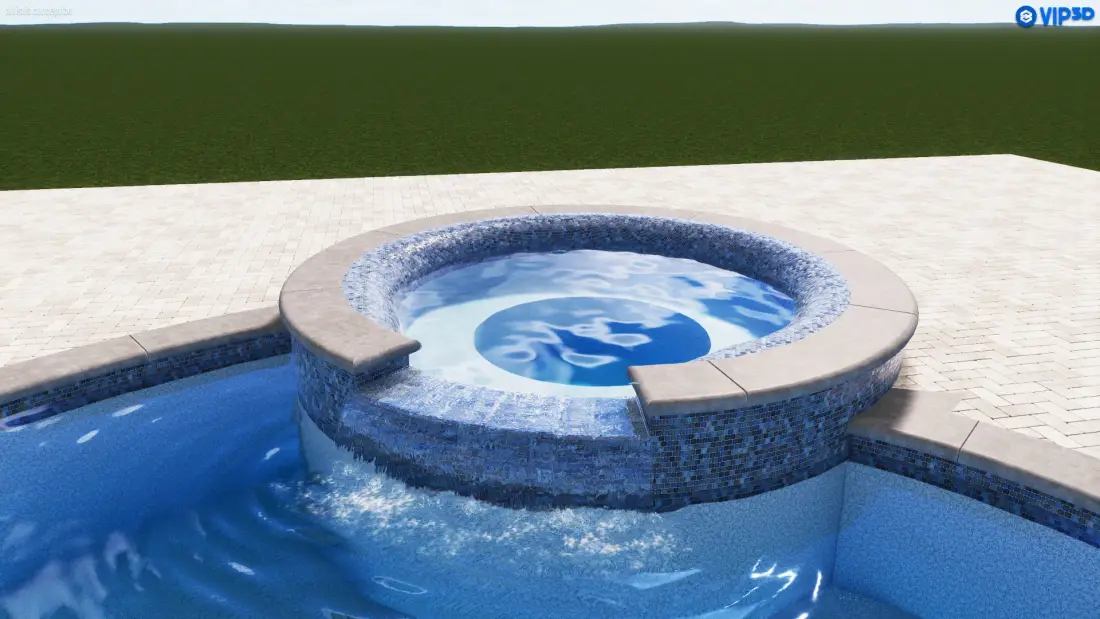
The term rolled spa refers to the smooth transition or curvature where the spa wall meets the deck. Unlike the sharp 90-degree angle common in the main pool, a “rolled” edge or roll-out lets bathers comfortably sit on the spa wall and swing their legs into the water.
Why it matters: it’s a significant factor in the comfort and functionality of a custom spa. A poorly designed edge can be uncomfortable to sit on and may not look as high-end.
Ask your builder: “How are you transitioning the spa edge to the deck? Will it be a smooth, rolled coping design for comfort?”
6. Precision in Spa Details: Jet Heights and Seating
A great spa is all about hydrotherapy, which comes down to precision in the details. Jets must be placed at the right height to target the shoulders, back, and lower lumbar area while seated — generic placement often misses the mark. Seats shouldn’t all sit at the same depth: alternating seat heights (a deeper seat for a taller person, a shallower seat for a shorter person) ensures everyone is immersed comfortably and the jets hit the right spots.
Ask your builder: “Can we review the specific placement of the spa jets, and will the spa seating include alternating depths for maximum comfort?”
References
This article draws on Pool Pros Construction's own published process and project pages, not third-party sources:
See it built
Ready to talk about your own pool?
Tell us about the space you have and the pool you're picturing — we'll take it from there.